Floating Mantel Installation Instructions
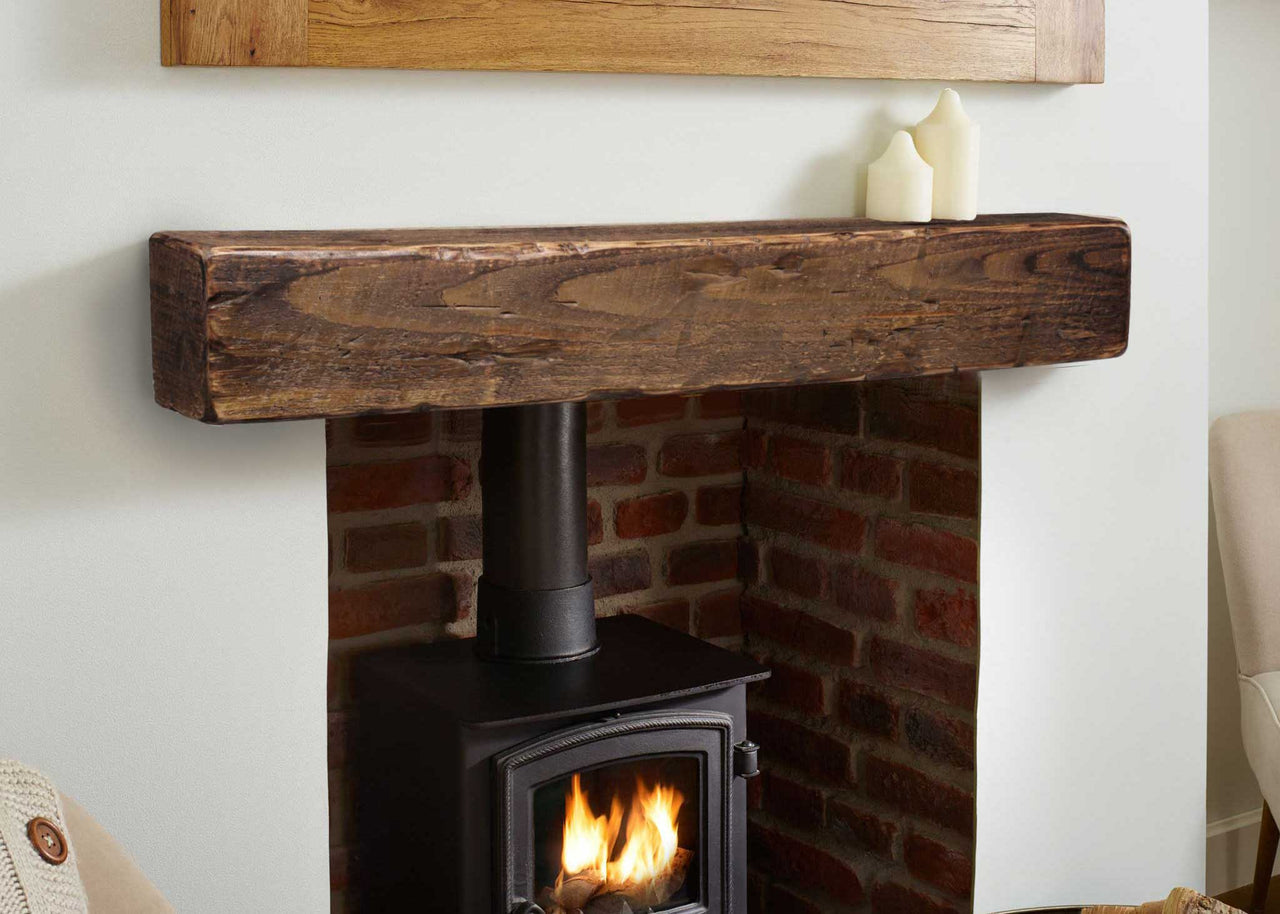
Our floating mantel is designed to make installation quick and easy.
Installation time: 10 minutes.
Tools needed:
Pencil.
Stud finder (drywall installation)
Bubble level.
Electric drill/driver.
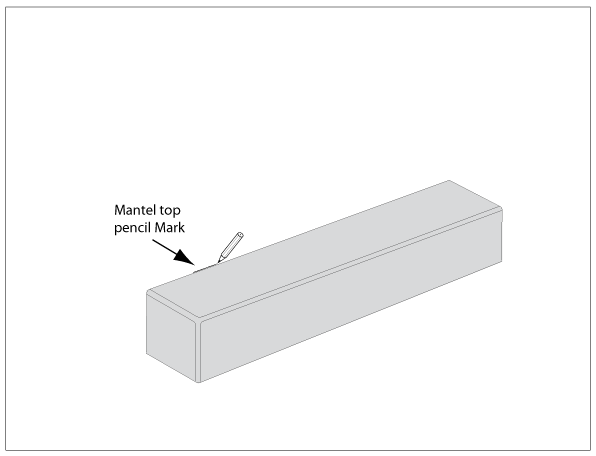
Step 1
Hold the mantel on the wall in its desired place and make a small pencil
mark where the top of the mantel meets the wall. Remove the mantel.
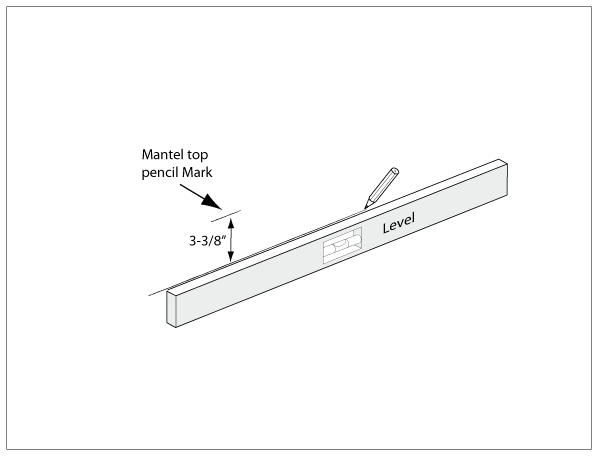
Step 2
Measure 3-3/8” down from the pencil mark. At that point and with the aid of a bubble level make a horizontal line with a pencil.
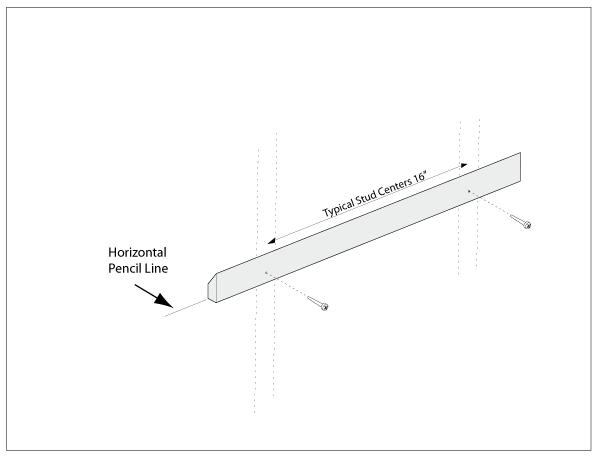
Step 3
Hold the bracket against the wall with it’s bottom resting on the pencil line. Drive the included Power Pro screws through the bracket into the wall studs.
Drywall - We recommend driving the screws into the wall studs. If studs aren’t an option, we advise using toggle bolts. (Available at any hardware store).
Stone/Masonry - Droll pilot holes using a 5/32" masonry bit. Drive the included PowerPro screws through the bar and into the stone/masonry.
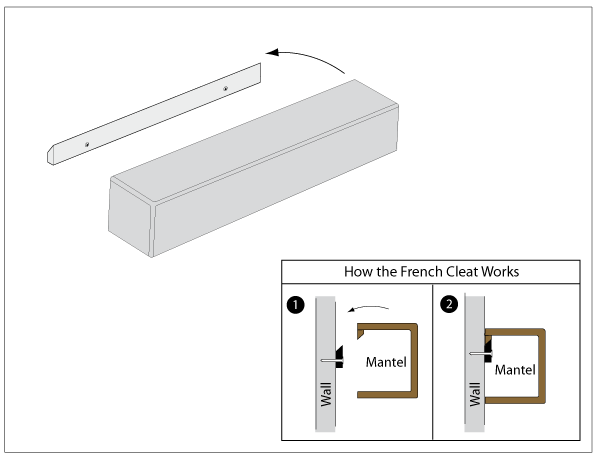
Step 4
Lift your mantel up and hook it into the mounting bracket.
Sit down, relax and enjoy.
Have any questions? here are a few ways to find some answers
